Creating and sharing encrypted files and documents was made extremely simple within the Google Drive interface. Users have the same functionality as a normal Google Drive user with the added functions of choosing Encrypted versions of their favorite collaboration and sharing tools. To create and share an Encrypted Google Slide, see the steps on how to do so below.
Note: If you want to learn about how Google handles Encrypted Files and Documents you may learn more here.
How to Create Encrypted Google Slides
To create an Encrypted Google Slides you can select the NEW button in the top left, then select the > button next to GOOGLE SLIDES and finally select BLANK ENCRYPTED PRESENTATION.

A pop-up window will appear highlighting some features that will not work on Encrypted Google Slide. Select CREATE and your Encrypted Google Slide will be created.

Encrypted Google Slides are distinguished by the BLACK SHIELD in the top left of the file next to the file name. Collaboration limitations are displayed by selecting the BLACK SHIELD icon.

How to Share Encrypted Google Slides
To start collaborating securely, you can share the Google Slide the same way you would share it normally with other users.

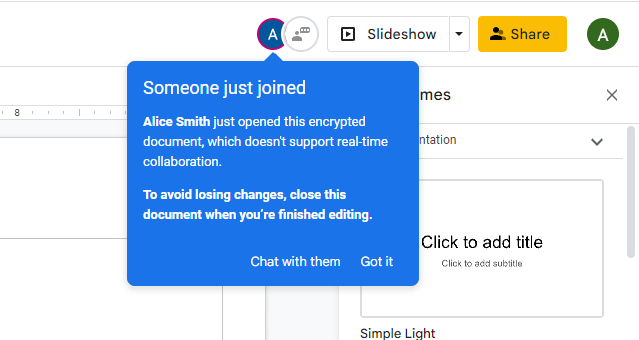
Once the shared user opens the Google Slide, they will get this notification in the top right if there are any users currently working on the Google Slide. You will also get a notification when someone joins the Google Slide if you are currently working on it.


